
Have you ever wondered if you can create an infographic for your business? You might think it’s hard or time-consuming but all you need is a process or outline to get going on creating infographics. Just like a recipe to a cake, if you follow the steps you’ll find it easier than you thought it would be AND it’s even more satisfying!
Infographics are in high-demand and entrepreneurs to large businesses would like to market with them. There are many free tools for infographics, you can check out this post to find out more options. The variety of infographic tools is amazing however one favorite is Canva. It’s free and really easy to work with.
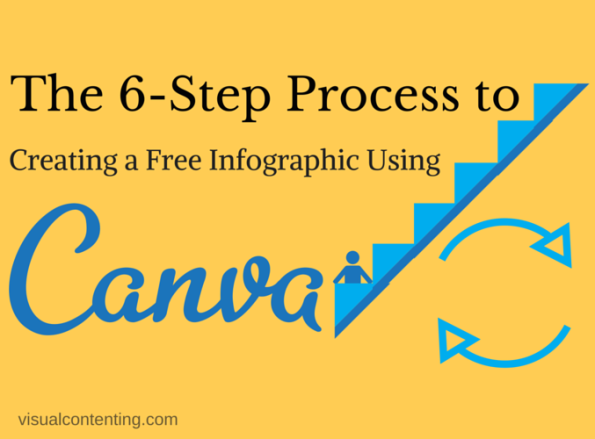
Here’s the 6-Step Process to Creating a Free Infographic [Using Canva]
1. Collect Data
You can use data collected from a recent survey to your email list, statistics from your business research, or from a third-party site. No matter where you get your data, make sure you cite it on the infographic itself. Give credit where it’s due! If you do use a third-party site, be sure it’s a credible and a reputable source.
2. Choose Your Colors
Don’t just choose your favorite colors! Make an informed decision. Use your brand colors so it can be easily recognized as YOURS. If you want to know what colors would be best, check out this resource from CoSchedule where they have an ultimate guide on colors for marketing.
Once you have your colors in mind, you can use HEX codes in Canva to make it easier to find your colors.
Here’s a quick video on where to place that code:
3. Create a Headline
Make the headline absolutely clear as to what you want to display to your audience. Just like headlines for articles, it has to be strong to capture the reader’s attention. Sometimes that’s the hardest part. If you need help in creating a headline for an infographic you can use headline generator tools such as: Hubspot Blog Topic Generator Tool or Portent Content Idea Generator. These tools can get the creative juices flowing.
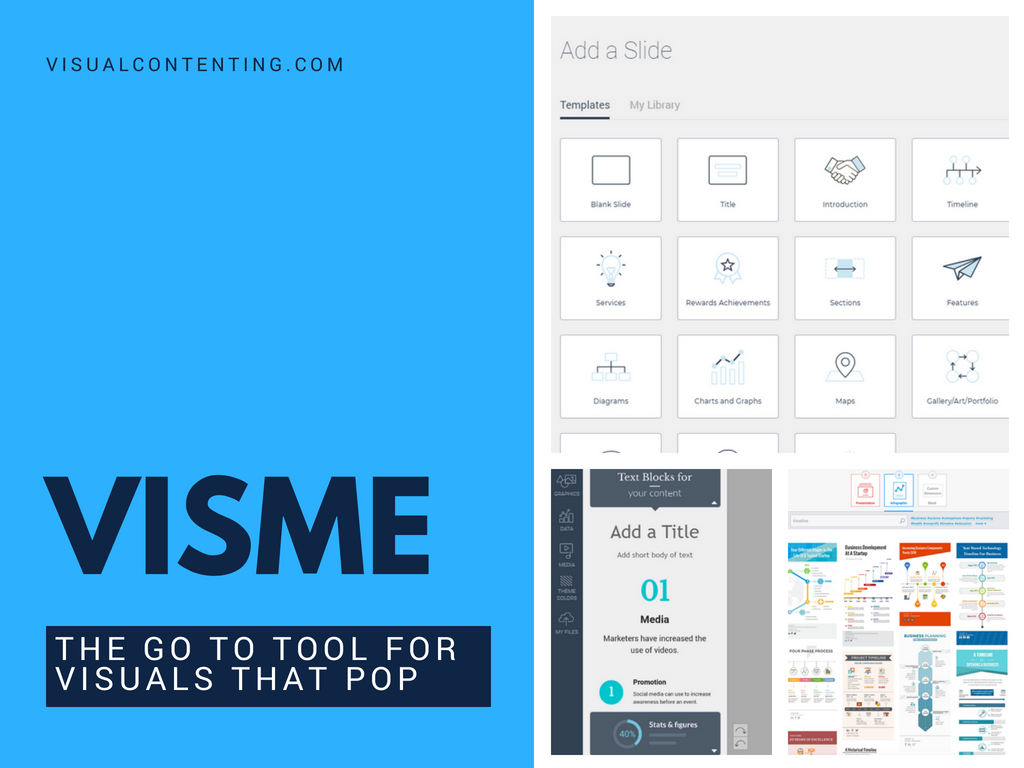
4. Use Canva Layouts
If you’re new to Canva, you’ll find that it’s an amazing free tool. What’s so amazing about it is that it provides layouts to help create designs. You don’t need to have graphic design experience! The layouts come in a variety to choose from and you can use the available icons they have on the layouts or delete them. They do have a ton more icons to choose from to arrange the infographic to your liking.
Check out how easy it is to use a Canva layout:
5. Add the Most Important Information in Blocks
What makes an infographic work so well is the layout and having the information presented clearly. By having the information in blocks, it would provide bits of data to the reader where it can easily be read and retained. The objective is to keep the information simple and easy to read.
6. Add Your Logo & URL
The infographic must have the logo and URL of the business that has created it. This provides the reader who they can contact for further information or perhaps inquire for services. The infographic can help bring in leads and perhaps clients who become intrigued with the information related in the infographic. Most businesses place their logo and company website on the bottom of the infographic.
Take a look at the infographic below that was created in Canva:

The Awesome Infographic Creation Outline infographic serves as a guide on how to create an infographic with simple steps in creating in Canva.
Bringing Design to Everyone – Create Your Own Free Infographic Using Canva
Canva definitely makes design easy for everyone. Imagine all the data you can display by creating your very own infographic for free.
Have you used Canva to create an infographic yet? Let us know your experience.

Lillian De Jesus is a Visual Content Marketing Consultant of Tigerlily Virtual Assistance, who specializes in social media management and blogging. She also helps people with inspiring personable teaching with 1-1 training sessions for awesome visual tools like Canva (a graphic design app for the “non-designer”). She also writes inspirational stories on CertainlyHer and is a HUGE childhood cancer awareness advocate. #pediatriccancersucks Tweet her @tigerlilyva11 or find her on Facebook.


[…] Source: visualcontenting.com […]
[…] Creating a Free Infographic Using Canva with 6 Easy Steps via visualcontenting.com […]